7 Tips For Grilling The Perfect Steak
SHARE


Unsplash
A lot of things can wrong when you’re grilling a piece of meat. If you plan on splurging on a steak, the last thing you want to do is overcook it. Maybe you’re a helicopter parent and you watch over your steak anxiously, cutting into it every five minutes to check if it’s cooked. Or maybe you take it right from the fridge and throw it on the grill and forget about it. Bottom line — it’s easy to mess up a piece of steak. Before you go and spend your weekly food budget on a prime cut, read up on some pointers.
If you’re working with a thicker cut, you can use a meat thermometer. This will give you an accurate reading and let you know when the steak has reached your desired level of tenderness. For thinner cuts of meat, you can keep an eye on the clock or set a timer. Below, 7 tips on how to grill steak like a pro.
Unsplash
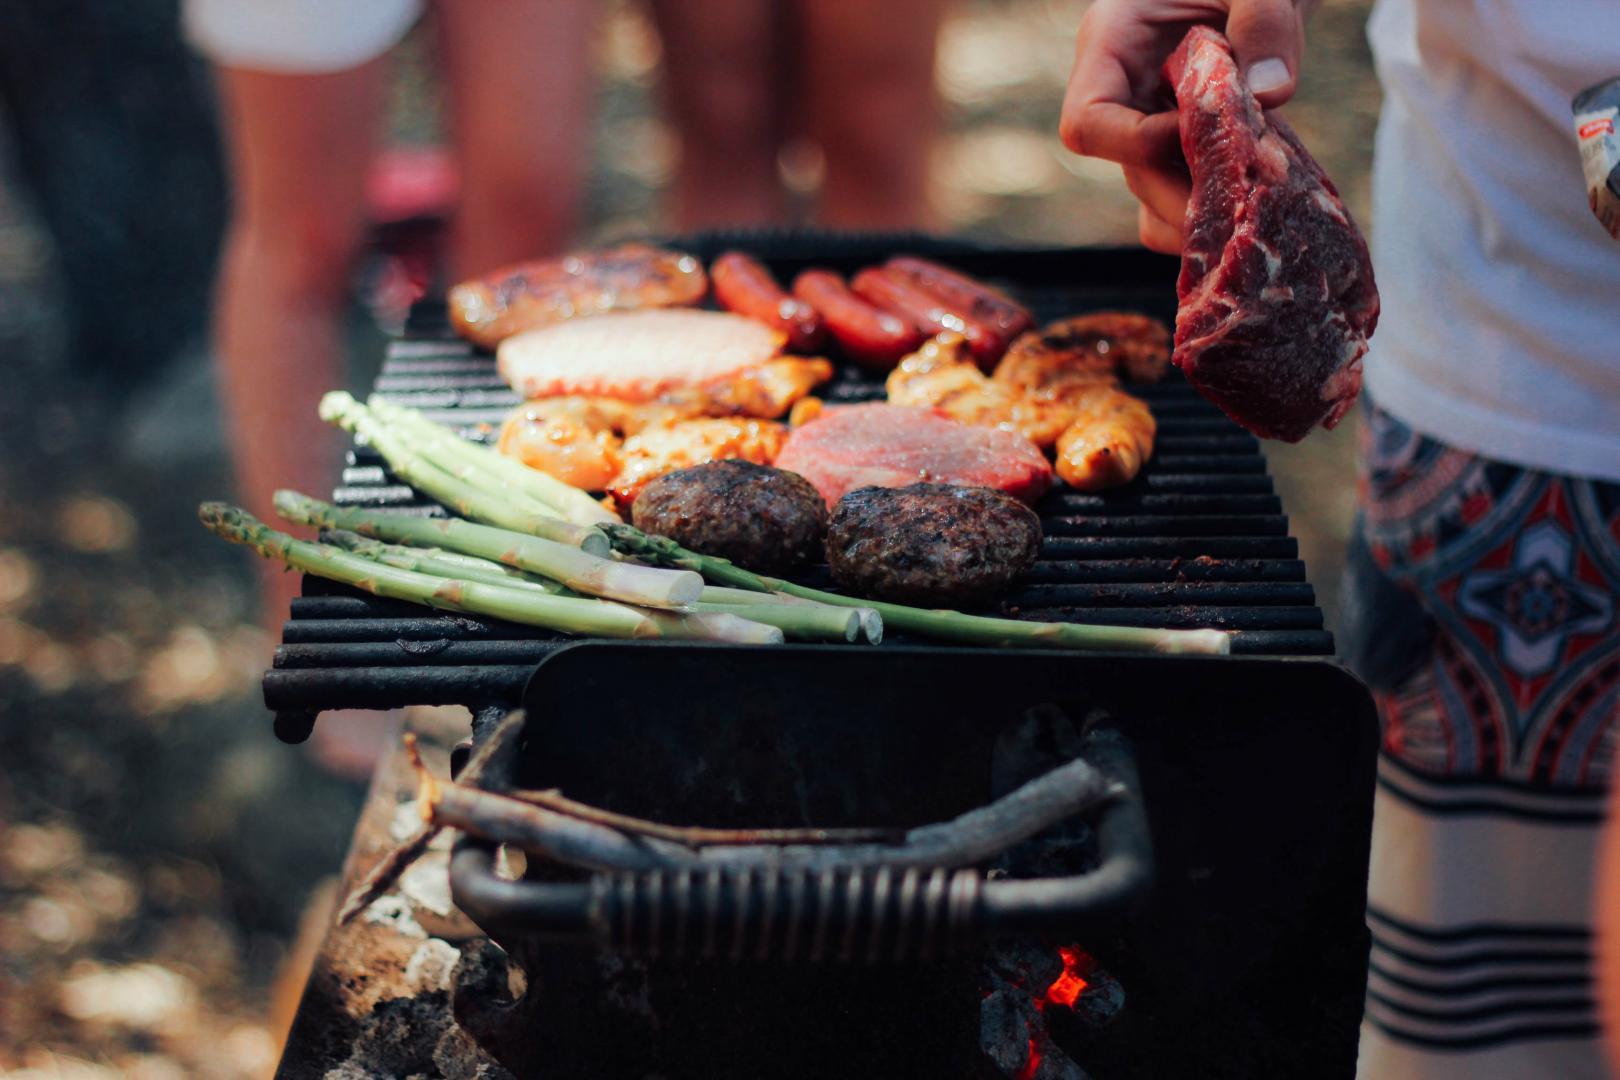
1. Start With A Clean And Oiled Grill
A clean grill can make a huge difference. If you keep the grates clean with a heavy duty grill brush, you’ll prevent the steak from sticking when you go to flip it. Heat the grill, scrub away all of the leftover and charred bits, and lightly brush the grates with vegetable oil.
2. Let The Steak Reach Room Temperature
It’s an automatic instinct to throw your steak in the fridge right when you get home from the store. If you’re not cooking for a day or so this makes total sense, but if you’re planning on grilling within the next hour or two it’s not necessary to put it in the fridge. Take the meat out about a half hour before to let it reach room temperature before grilling. This way it’ll cook more evenly and you won’t end up with a charred exterior and rare interior.
3. Keep The Seasonings Simple
The simpler the better when you’re seasoning a steak. Your trusted kosher salt and freshly ground whole black peppercorns will do the trick. You could season the steak ahead of time, but you run the risk of extracting the moisture from the meat, which will take away from its juiciness later on. Right before grilling, sprinkle a generous amount of kosher salt and fresh black pepper. You could also add a little extra virgin olive oil on there if you’re in the mood.
Pixabay
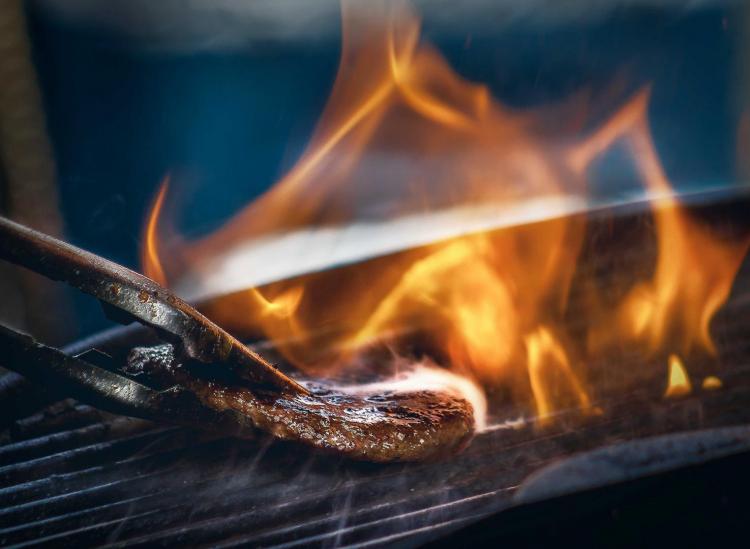
4. Don’t Use Direct Heat The Whole Time
If you want a good sear and grill marks, start with your grill on high heat. H0ld your hand about an inch over the grill and if you feel the heat almost instantly, you’re ready to go. Once you get a good sear on both sides, meaning a caramelized crust forms to seal in the juices, then move the meat to cooler and less direct area of the grill. Don’t keep your steak directly over the open flame unless burnt steak is what you’re going for.
5. Don’t Play With The Steak
Once you put your steak on the grill, let it be. Don’t toss it around, press down on it with a spatula or puncture it with a fork to check if it’s cooked. You don’t want all of those flavorful steak juices to leak out before it’s time to eat. Once you see a crust form on one side, flip it over until the second side forms a crust. Move the steak to a cooler section of the grill until it’s finished.
6. Get Comfortable With Touching Your Food
Ever wonder how chefs can tell if the meat is cooked, without puncturing it? They can tell just by touching it with their fingers. Raw meat is squishy, rare meat is fairly soft, medium-rare has a little resistance to it and so on. The more well done it gets, the more springy it’ll start to feel. If it feels firm, that means it’s well done. Aside from using tongs to flip it once, your finger is the only tool you’ll need.
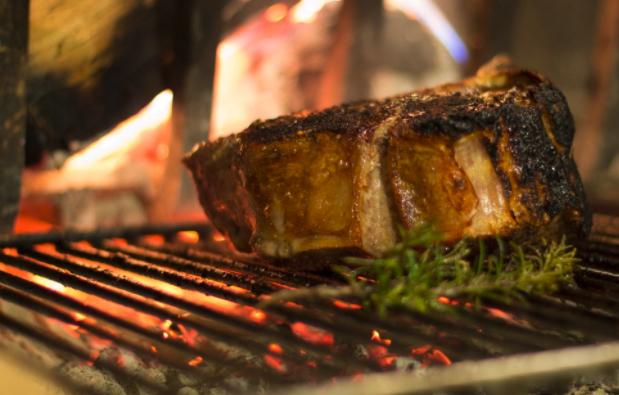
7. Let The Steak Rest
This is pretty important. Once your steak is cooked, remove it from the heat source and let it sit for about five to 10 minutes before cutting into it. You’re giving the juices a chance to redistribute throughout the meat, which will keep your steak flavorful and tender.


Next on