5 Phrases You Need To Know Before Attending Your First Indoor Cycling Class
SHARE


@fitnessdestap
So, you finally feel ready to sign up for your first indoor cycling class — and you should, because you’re a strong and confident woman who can do pretty much anything. But hearing all of that new lingo the second you step through those studio doors can be rather intimidating. Instead of feeling like a totally clueless newbie on day one, read on to learn about the five most common phrases used in indoor cycling classes and what your instructor is really trying to say when he or she uses them.
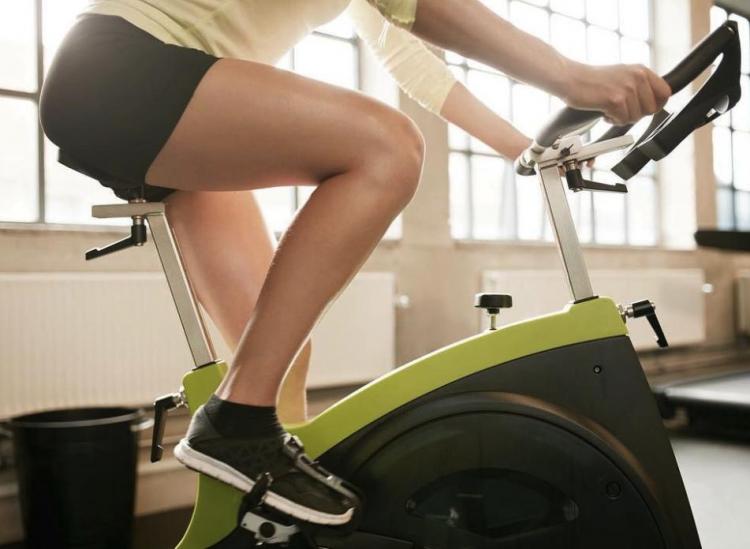
1. “Clip in.”
Most studios provide rental cycling shoes that have little metal brackets on the bottom that clip directly into the bike pedals. (This setup is common for most road bikes as well.) The mechanism helps keep your feet securely in place throughout the class so you avoid any injury that could be caused by a foot flying off a pedal in the middle of a sprint.
So when you’re told to “clip in,” it means fasten the bottom of your shoes to the bike pedals, usually by shifting forward and backward until you hear and feel the desired click. At the end of the class, you’ll do the opposite and unclip to dismount the bike by turning your heel out at a 45-degree angle away from the bike and pressing your weight into the ball of your foot. Worst case scenario: you slip out of the rental shoes carefully and leave them attached to the bike pedals while you stretch in your socks.
2. “Tap it back.”
Ah, the favorite cue of every SoulCycle instructor out there. “Tap it back” refers to a motion completed in the middle of a class routine when you’re pedaling on the bike from a standing position. Typically following the beat of the music, you’ll repeatedly shift your hips and glutes slightly forward and then slightly backward. You engage your core to stay balanced and never actually touch the bike seat. Think of it as a baby squat… while also standing on a bike and pedaling on the beat. NBD.
3. “Crank that resistance.”
So, that little knob on the bike just in front of your seat controls the pedaling difficulty of the bike. Twist it clockwise, and it becomes harder and harder to pedal. Twist it counterclockwise, and it becomes easier and easier. Throughout the class, the instructor will advise you on when to “crank that resistance” as you complete jumps, hills, sprints and more. He or she will also tell you when it’s okay to ease up and enjoy a period of active recovery.
Follow directions, but listen to your body at the same time. If sprinting at a high resistance is not in the cards for you, go with a medium resistance instead. Don’t try to be a hero on your first day (or even your hundredth day) if you want to avoid extreme (read: unnecessary) muscle soreness and even injuries.
4. “Switch positions.”
Most studios recognize three hand positions on the bike. First position is when your hands are at the base of the handlebars and your forearms are parallel to your thighs. Second position is when your hands are on the outside sections of the base of the handlebars and third position is when your hands reach up to the top grips of the handlebars.
These hand positions are then combined with either seated or standing pedaling to create a variety of movement used throughout the class. It can be tough at first to switch positions swiftly, moving your torso and hands simultaneously where your instructor wants you to go, but don’t sweat it. You’ll get the hang of it with practice.
5. “Back to the saddle.”
We saved the easiest for last. “Saddle” is just a fun indoor cycling word used to refer to the bike seat. So when your instructor is guiding you “back to the saddle,” they’re really just saying gracefully sit down as you keep pedaling your legs. And in the middle of the class, when he or she shouts, “Out of the saddle!” simply stand up as you continue pumping your legs. Done and done.


Next on